It's a fair question. You own a vacuum, the vent covers come off with a screwdriver, and there are dozens of videos showing someone cleaning their ducts in an afternoon. Why pay a professional?
The short answer: some parts of duct care are absolutely DIY jobs — and some aren't. This guide lays out, honestly, what you can do yourself, what you can't, and where DIY attempts go wrong. By the end you'll know exactly which is right for your home.
How big is your duct system, really?
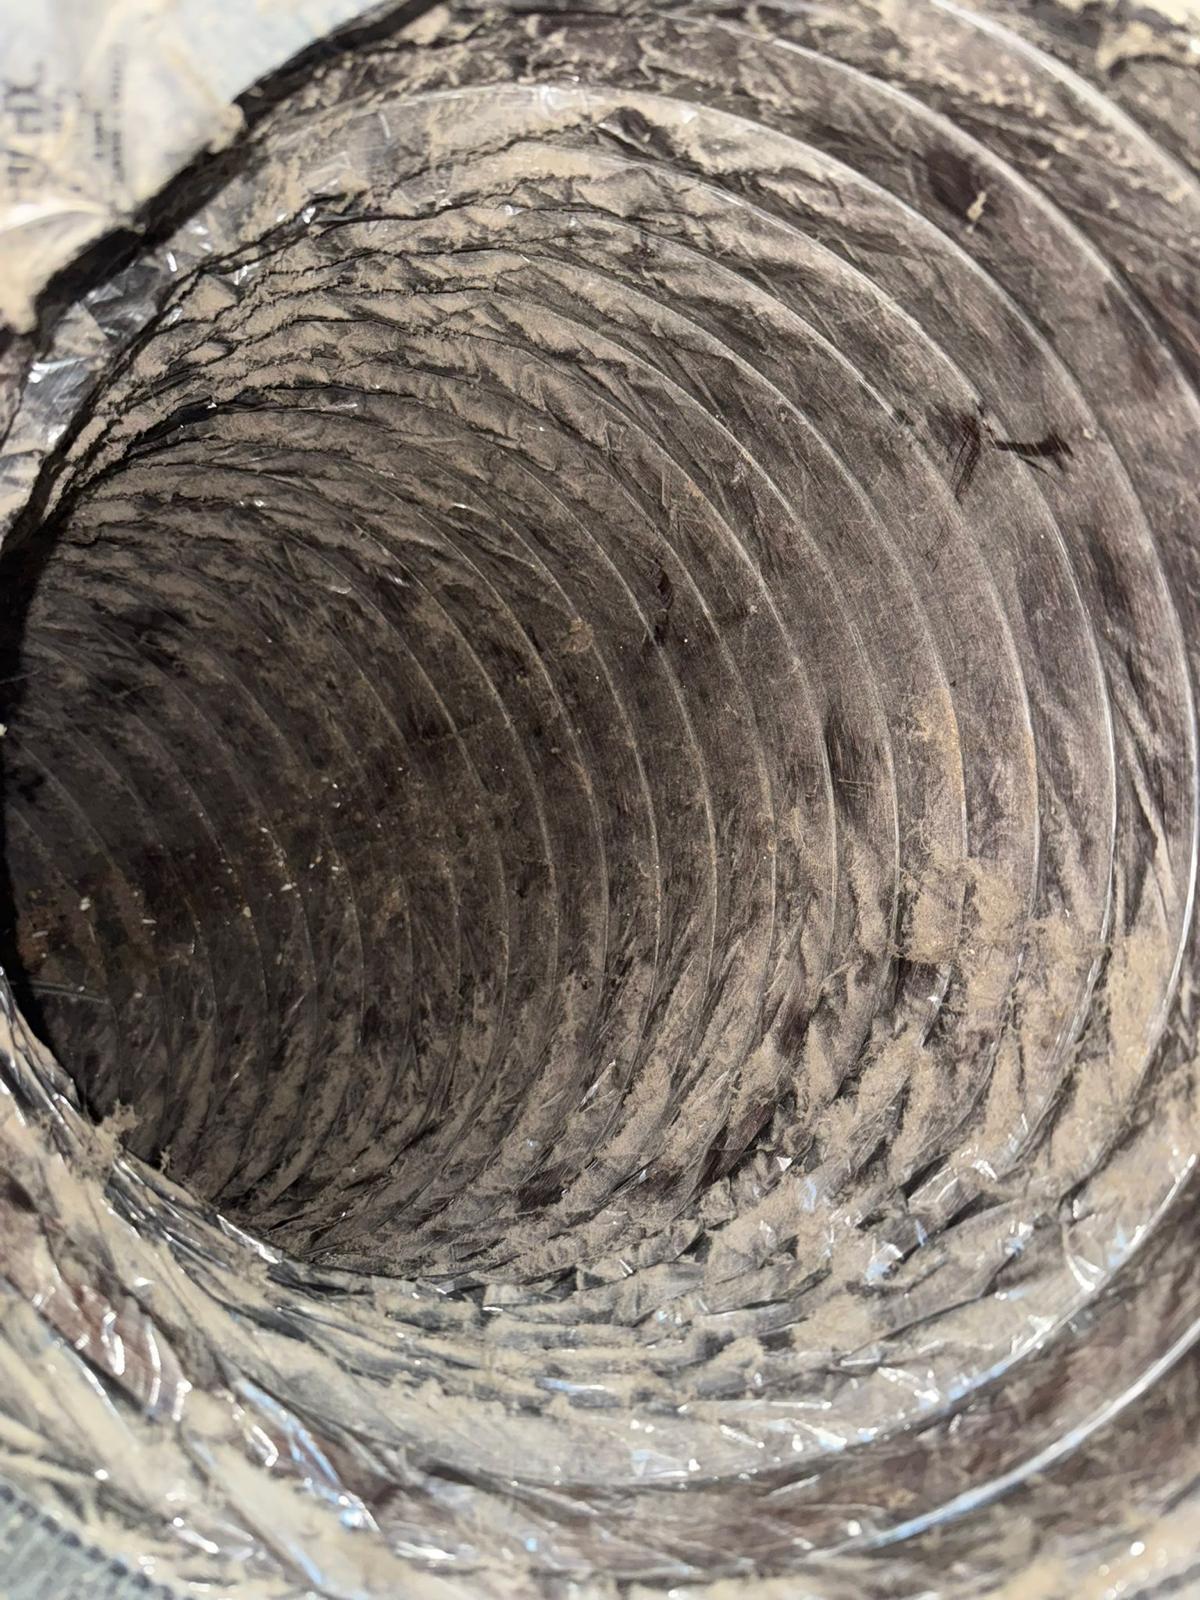
Most homeowners picture their ducts as the few inches they see behind a vent cover. In reality, a typical California single-family home has somewhere between 100 and 300 feet of ductwork, running through the attic, walls, crawlspace, or under the slab. It connects to a central air handler or furnace containing a blower wheel, a coil, and a plenum — the parts that actually hold the most buildup.
A household vacuum hose reaches about 12 to 18 inches past the register. That means a typical DIY cleaning reaches less than 5% of the system, and none of the air handler.
What you can (and should) do yourself
These tasks are safe, simple, and genuinely help keep your air cleaner between professional visits:
- Change the HVAC filter regularly — every 1–3 months, monthly with pets or during fire season. This is the single most valuable thing a homeowner can do.
- Wash the register covers and return grilles. Remove them, wash with warm soapy water, dry completely, and reinstall.
- Vacuum the first few inches behind each register with a brush attachment.
- Keep vents unblocked by furniture, rugs, and curtains so air flows properly.
- Wipe down the area around the return — that's where dust concentrates.
- Watch for warning signs — musty smells, dust puffing from vents, uneven airflow, or visible debris.
Think of it like brushing your teeth versus a dental cleaning: daily care matters, and it doesn't replace what a professional does with the right tools.
Where DIY duct cleaning goes wrong
1. It stirs debris up instead of taking it out
Brushing or poking inside a duct without strong suction loosens dust that then blows straight into your rooms the next time the system runs. Many homeowners notice more dust after a DIY attempt, not less.
2. It can damage the ductwork
Most California homes built in the last few decades use flexible ducts — a thin plastic inner liner wrapped in insulation. Stiff brushes, drill-powered tools, or pulling too hard on a hose can tear the liner or pull a run loose from its connection. A torn duct in the attic leaks conditioned air (and pulls in hot, dusty attic air) — and you usually won't know until your energy bill climbs.
3. It misses the parts that matter most
The blower wheel, evaporator coil, and supply plenum hold the heaviest buildup and have the biggest effect on airflow and efficiency. They require partial disassembly and specialized cleaning — not something to attempt without HVAC experience.
4. It exposes you to what's inside
Disturbing duct debris releases a concentrated cloud of dust, allergens, mold spores, and potentially rodent droppings. Without containment and proper respiratory protection, the person cleaning breathes most of it.
5. Attic work is genuinely risky
California attics can exceed 130°F in summer. Stepping off a joist can put a foot through the ceiling below. There are exposed nails, old wiring, and insulation fibers. Every year, homeowners are injured doing attic work that seemed simple.
6. Rental "duct cleaning kits" have the same limits
Rotary brush kits sold online still rely on a household vacuum for suction. Without powerful negative pressure pulling debris out of the system, the brush mostly relocates dirt further down the duct.
Not sure if you need a pro yet?
Book a free camera inspection. We'll show you what's inside your ducts on screen. If it's something you can handle yourself, we'll tell you — no pressure, no obligation.
Book Free Inspection →What professional cleaning actually involves
A proper professional cleaning follows a source-removal process:
- Camera inspection to see the condition of the ducts and document it.
- Protecting your home — floor coverings, shoe covers, and sealing registers.
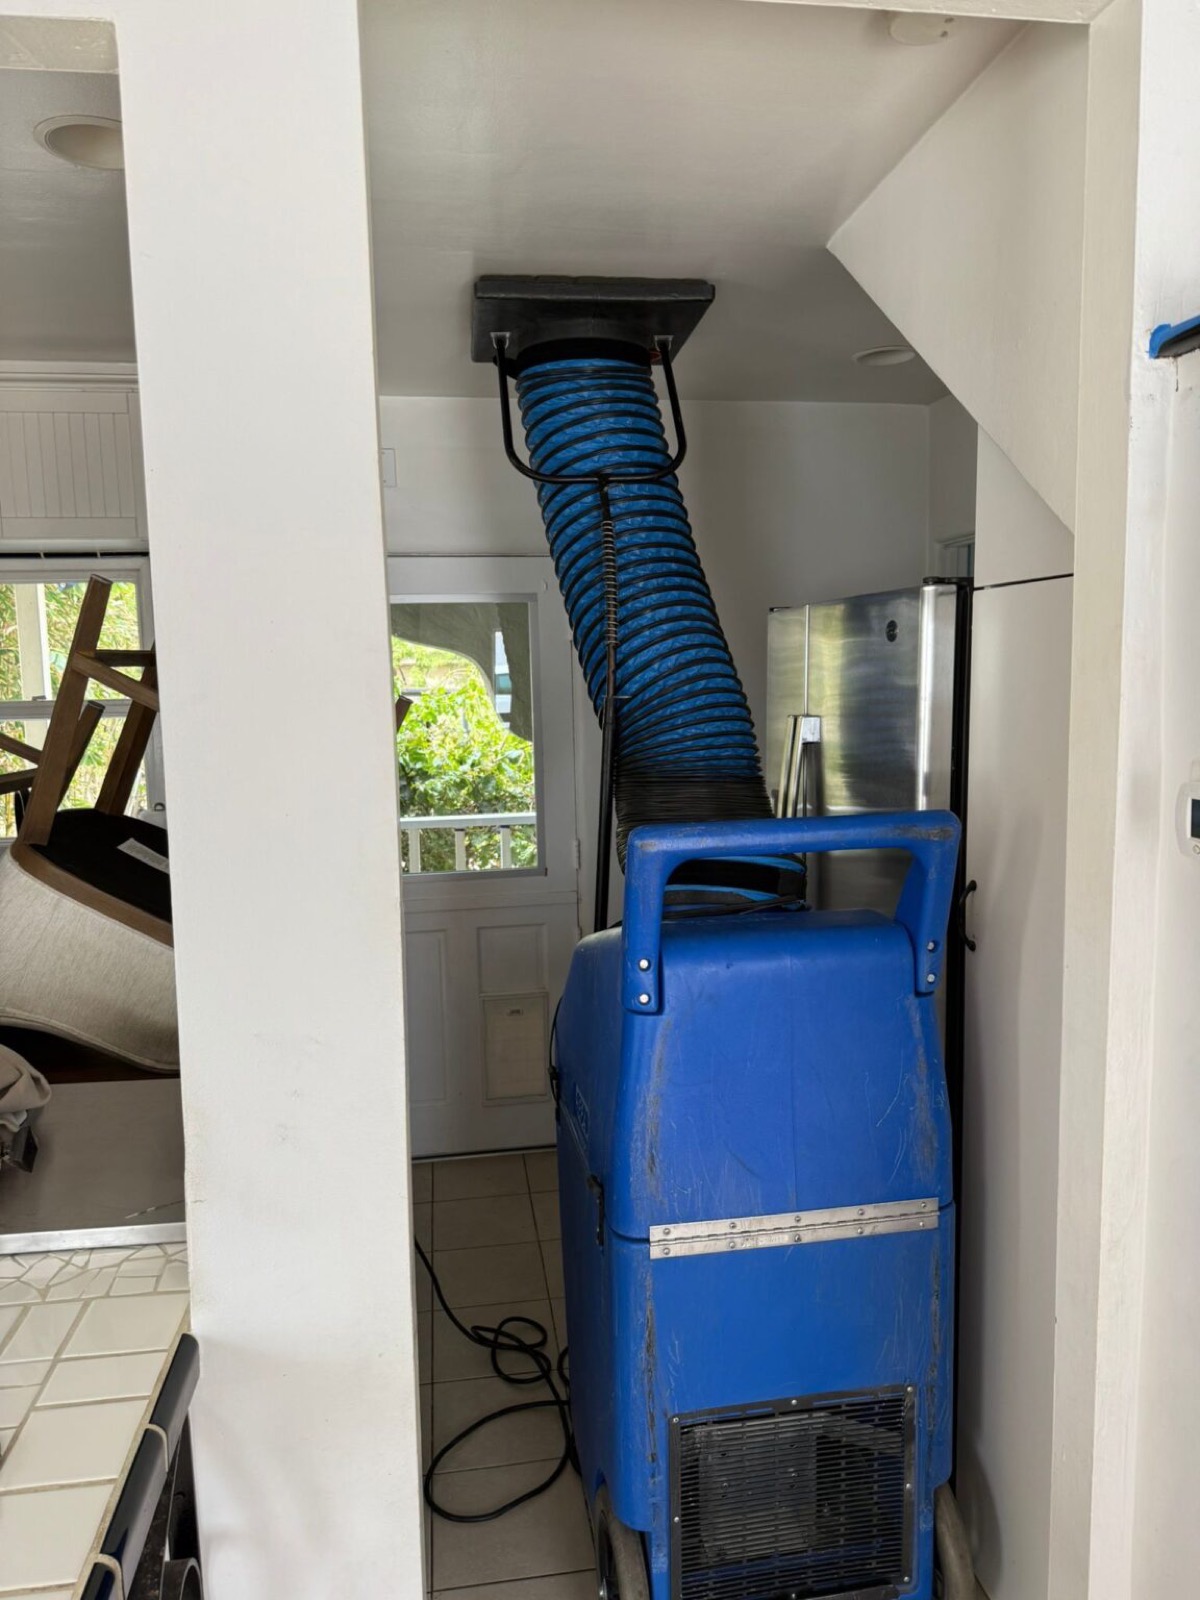
- Negative pressure — a commercial negative-air machine with HEPA filtration is connected to the system, putting the entire duct network under suction so loosened debris is pulled out, not into your rooms.
- Agitation — rotary brushes and compressed-air whips are run through each supply and return line to break debris free.
- Air handler cleaning — the blower, coil (where accessible), and plenum are cleaned.
- Optional sanitizing with an EPA-registered product, if needed and approved.
- Before/after photos and a walk-through with you.
Side-by-side comparison
| DIY | Professional | |
|---|---|---|
| Reach | 12–18 inches behind each vent | Entire system, end to end, including air handler |
| Suction | Household or shop vacuum | Commercial HEPA negative-air machine |
| Debris containment | Limited — dust often blows back into rooms | Whole system held under negative pressure |
| Blower & coil | Not recommended without HVAC training | Cleaned as part of the service |
| Risk of duct damage | Moderate to high with flex ducts | Low — tools matched to duct type |
| Inspection | What you can see with a flashlight | Camera inspection with before/after photos |
| Finds hidden problems | Rarely | Leaks, disconnections, pests, moisture |
| Time | A weekend, often repeated | Typically 3–5 hours |
| Best for | Filters, registers, routine upkeep | Full cleaning, yearly maintenance, post-fire or post-renovation |
What about cost?
DIY looks free, but it's worth considering the full picture: tools and kits, a weekend of work, the chance of damaging a duct run (and paying to repair it), and the likelihood that most of the system remains uncleaned.
Professional pricing depends on the size, condition, and layout of your system, which is why we don't quote over the phone. We inspect first — for free — and give you a written, itemized quote. Read more in our air duct cleaning cost guide.
How to choose a professional (and avoid the bad ones)
- Avoid "$49 whole-house" specials. A real cleaning can't be done at that price; it's usually a bait-and-switch.
- Ask what equipment they use. You want to hear "negative-air machine" and "HEPA."
- Ask to see the inside of your ducts before and after. Any reputable company will show you.
- Get a written quote before any work begins.
- Ask about insurance and how they protect your home during the job.
The bottom line
Do the everyday upkeep yourself — filters, registers, keeping vents clear. It genuinely helps. Leave the full system cleaning to professionals with the equipment to reach, contain, and remove what's actually inside. And when in doubt, a free inspection will tell you which one your home needs right now.
Frequently asked questions
Can I clean my air ducts myself?
You can clean registers, return grilles, and the first several inches of duct, and you should change your filter regularly. A full cleaning of the duct system and air handler requires commercial negative-air equipment and training.
Is a shop vac good enough to clean air ducts?
A shop vac is useful for vent openings but doesn't create enough suction across the whole system to pull loosened debris out. Without negative pressure, debris often ends up blown back into the home.
Can DIY duct cleaning damage my ducts?
Yes. Flexible ducts have a thin inner liner that tears easily, and connections in the attic can be pulled loose. Damage often goes unnoticed until energy bills rise or a room stops getting airflow.
How long does professional duct cleaning take?
Most California homes take 3–5 hours, depending on size, number of vents, and condition. Larger homes or multiple systems take longer.